
Export Vulcan
The Vulcan Export interface is designed to save data from Isatis.neo (but not necessarily created in Isatis.neo) in the VULCAN* software format. Supported input files are grid files (block models) and sub-block model files. The application is generally used to export kriging or simulation results from Isatis.neo to Vulcan block model files.
(*) VULCAN is a trademark of MAPTEK.
Requirements:
- You must use Windows on your computer;
- You must have Maptek Vulcan 2023.4 or higher and Isatis.neo installed on the same computer, because the Vulcan Python module must be compatible with Python 3.11.
Note: The Vulcan Installation Directory should be automatically detected on your computer. When detected, the path is greyed out. If not, an error message will ask you to provide the path to the Vulcan directory.
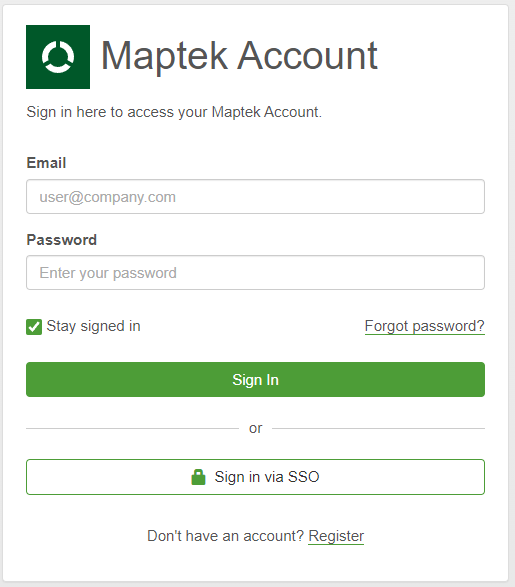
Important: The first time you open a Vulcan task, you may have to sign in (login + password) to your Maptek account in the window shown below.
The tool is located in Home / Export / Grid Export / Vulcan.
The application supports regular grids (block models) and irregular grids (sub-block models). Regular block models are easily identified as Grid files. Sub-blocks (irregular block models) are considered as Points in Isatis.neo, which may not be obvious for users. Consequently, Grid Export supports both regular and irregular block models.
Parameters
-
Input:
-
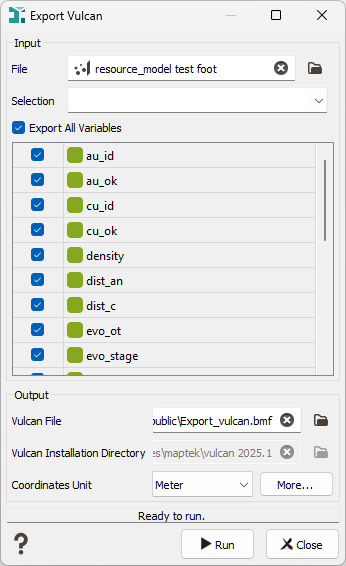
File: Select the file you want to export to the Vulcan format. You can use the File selector or drag and drop an object from the Data tree.
Note: Only Grid files and Sub-block files are allowed. If you select another type of data, an error message will appear in the status bar.
- Selection: You can choose a selection that belongs to the input file if you want to export a subset of the file. This is not mandatory. If no selection is given, the whole input file will be exported.
-
Variables: All the variables defined on the input file are listed in this section. By default, all the variables will be exported (checkbox Export All Variables is ticked). However, you can individually select the variables you want to export by unticking Export All Variables and ticking only the required variables. These variables will be exported directly with the input file.
Use the "All Variables" checkbox in Batch Recording to export all variables, even if they change for each run of the Batch file.
Note: Vulcan variable names do not allow all characters. Consequently, all characters that are not alphanumeric (letters and numbers) or the underscore symbol ’_’ will be transformed into an underscore symbol ’_’. Uppercase letters will be transformed into lowercase letters.
Note: Vulcan does not support macro-variables. Therefore, Isatis.neo’s macro-variables will be exported as individual numerical variables, i.e. a macro-variable with 3 indices will be transformed into three numerical variables, one per index. Categorical variables are exported without this conversion.
-
-
Output:
-
Vulcan File: Enter the name of the new Vulcan file that will be created. The extension will be .bmf by default.
- Vulcan Installation Directory: it should be automatically detected on your computer. When detected, the path is greyed out. If not, you will have an error message telling you to provide the path to the Vulcan directory.
- Coordinates Unit: Select the coordinate unit to write in the Vulcan file. Vulcan files do not store this information, so Isatis.neo converts the exported coordinates and block sizes from the project units to the selected unit. Click More... to define or select another unit if needed.
-
Existing output file mode: only if the selected output Vulcan file already exists.
- Overwrite: The new file will erase the previous one.
- Append: This mode will only add the selected variables in an existing Vulcan block model, if the geometry matches.
-
- Press Run to run the Vulcan Export task.
